
Learn how to setup email notification on your Vision machine
Step 1: Setting up a GMAIL account.
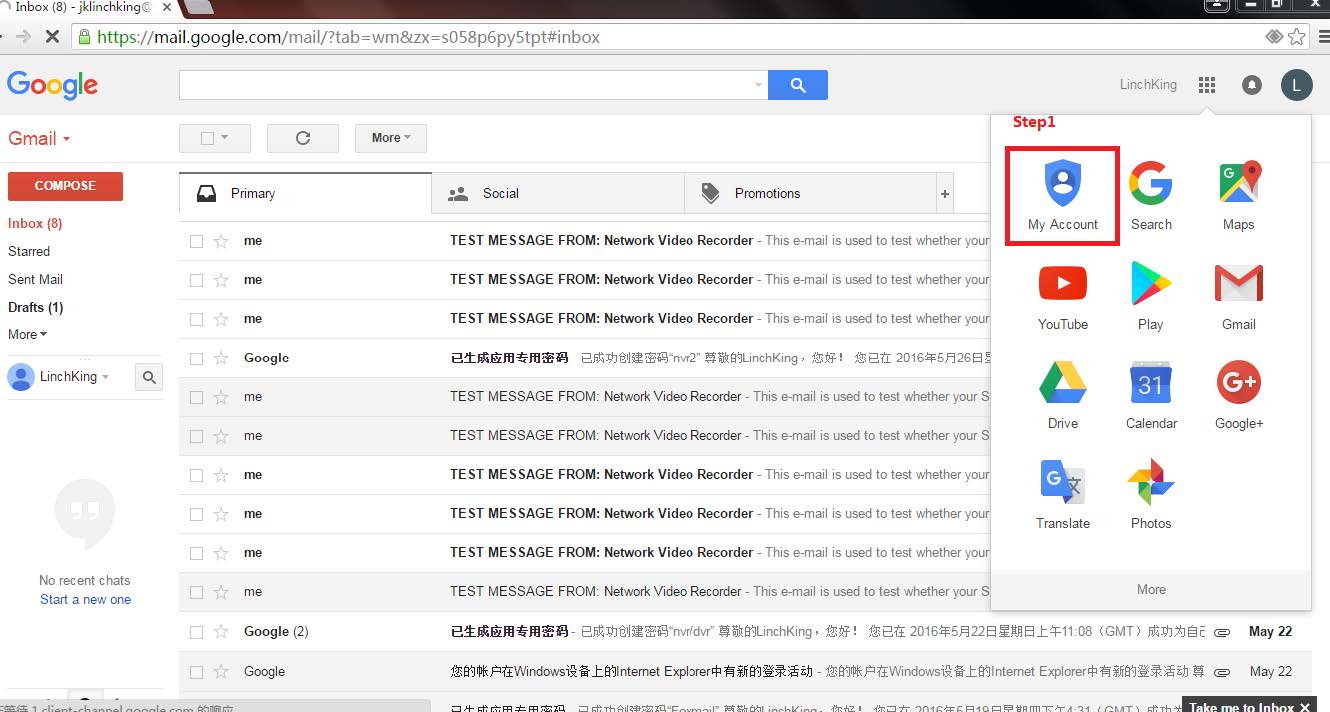
1. Go to My Account setting page, click on the square and click my account.
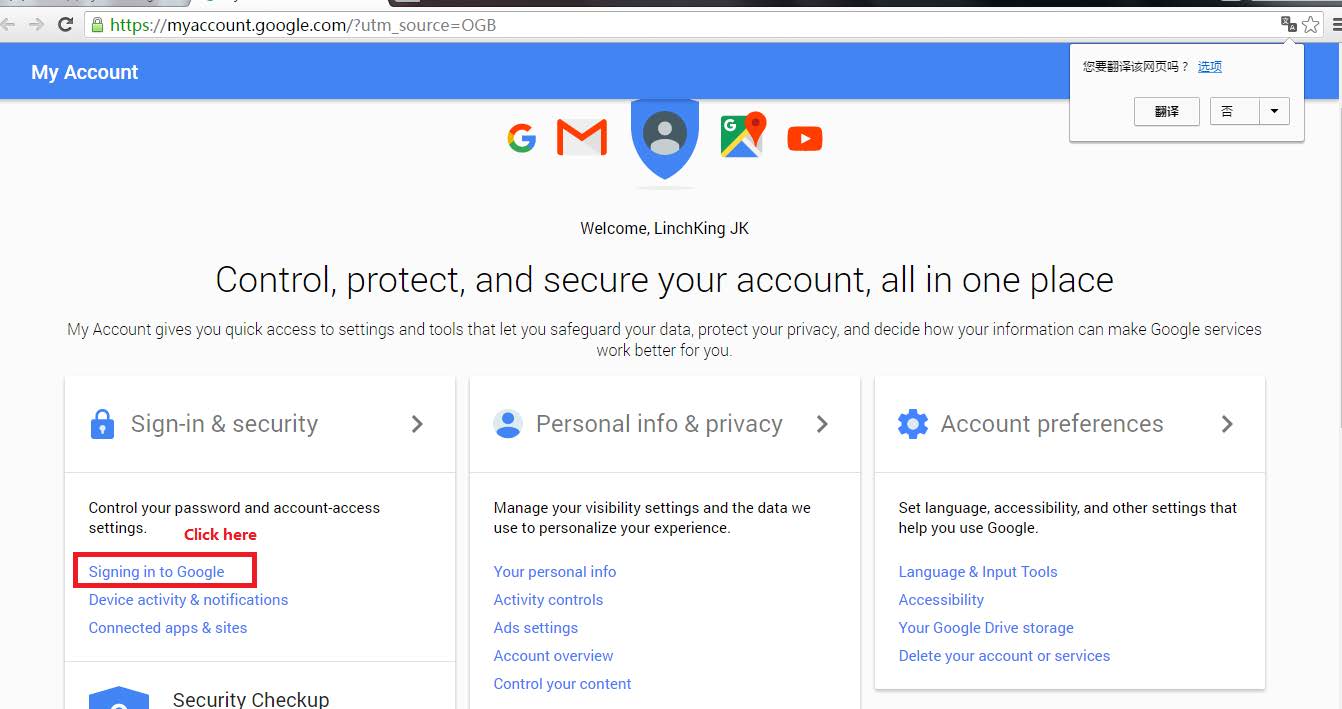
2. Click Signing in to Google.
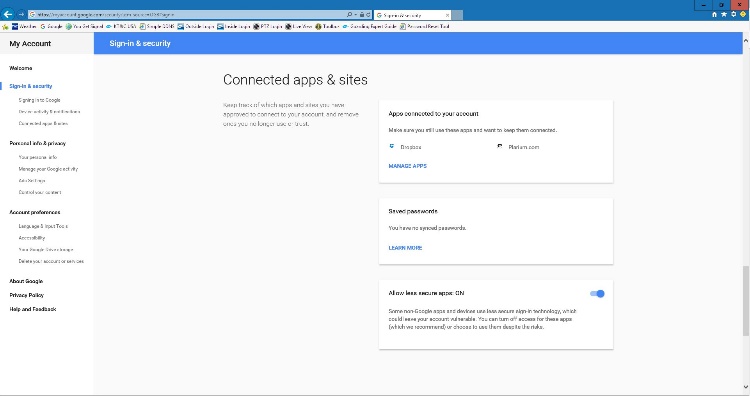
3. Click Allow all less secure apps on
Step 2 – Setting DVR/NVR Configurations
- Setting Up Email Notifications on DVR/NVR
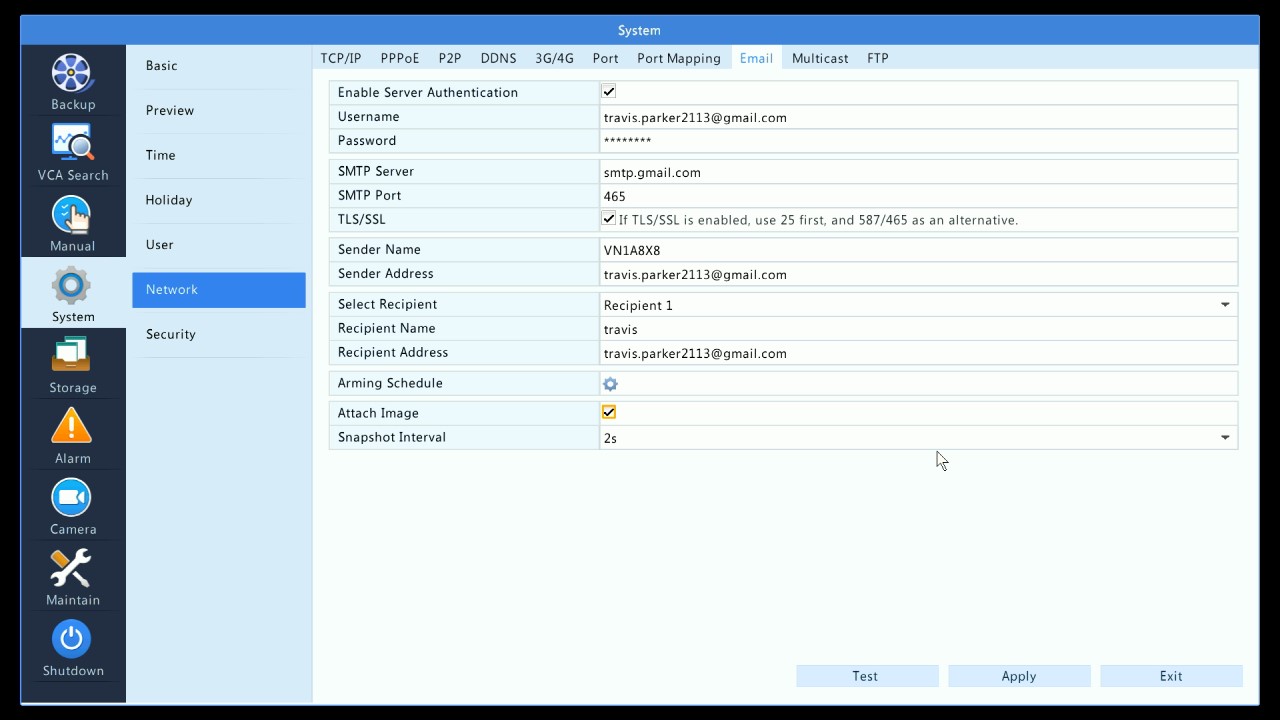
- Go to Menu/System/Network > Email across the top
- Enable “Enable Server Authentication”
- The “Username” and “Password” must be the Gmail login information
- The SMTP Server will be “smtp.gmail.com” and the SMTP Port is “465”, and enable the box for “TLS/SSL”
- Enter the “Sender Name”, this can anything you would like, for example “VN1A-8X8”. The “Sender address” must be the same as your EMAIL address, i.e. travis.parker213@gmail.com
- The “Recipient Name” is the name of the person you will be sending the notifications to. The “Recipient Address” will be the email address of the person the notifications will be sent to, this does not have to be a Gmail address it can be anything you would like
- “Arming Schedule” can be configured to only have emails sent at specific times.
- “Attach Image” is if you would like a Snapshot included within email (must be enabled under camera Trigger Actions, see below)
- Hit the TEST button to make sure you get a successful connection. If not, refer to Gmail account and
- make sure Less Secure Apps is turned On and all information is entered correctly. Once you get a success message hit APPLY to save.
Enabling Motion Detection
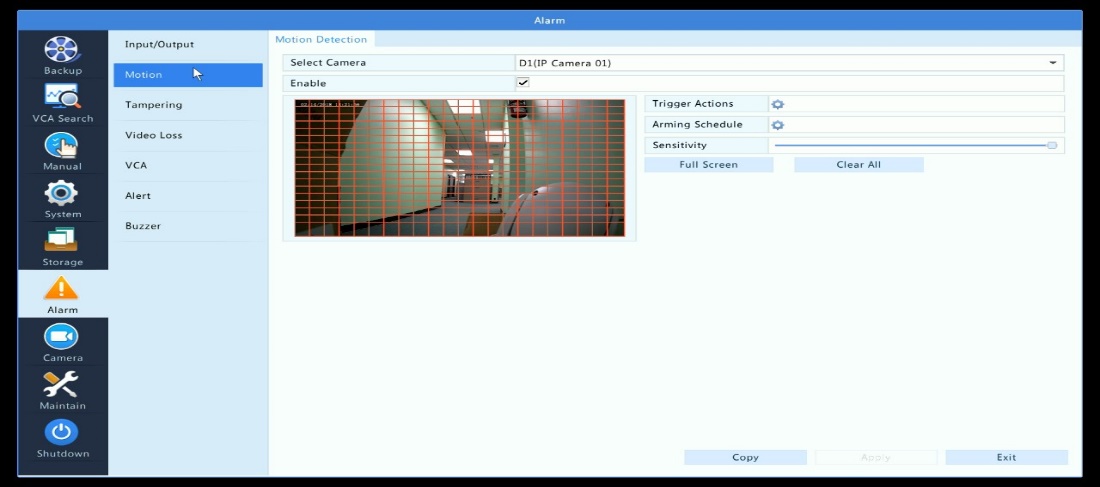
- Go to Menu/Alarm/Motion and select Camera at top
- Check off “Enable”, set your sensitivity and set your motion mask as needed
- “Arming Schedule”, this arming schedule is setup for when you want this individual camera to send specific Trigger Actions selected. For instance, emails are sent 24/7 but Camera 1 only sends emails Monday-Thursday between 6am-5pm
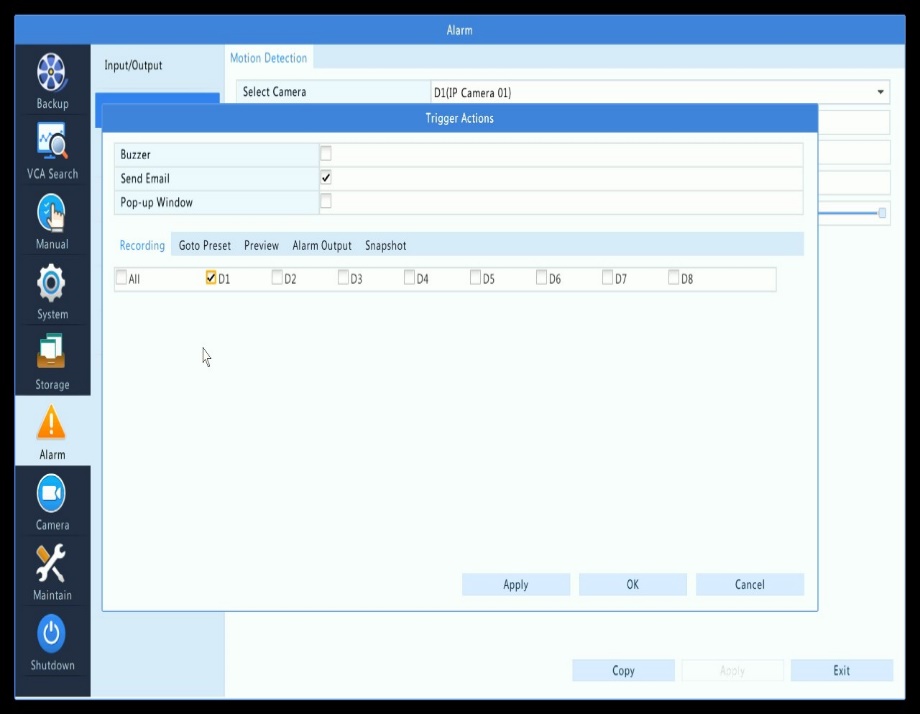
- Click on “Trigger Actions” and check off “Send Email” and hit Apply
- Below, click on “Snapshot” and check off the channel number if you have turned on “Attach Picture” in the email setup portion
Hit Apply to save then OK