IP Camera Functions:
To access IP Camera Functions, you must click the backup bridge icon.
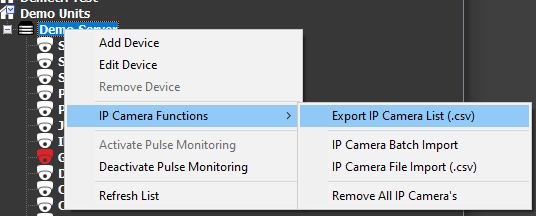
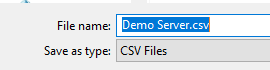
Export IP Camera List (.csv):
You can select a location to save the list to a .csv file. This file can then be imported into Microsoft Excel or Google Sheets.
IP Camera Batch Import:
You can import devices using an IP address range, along with a port number.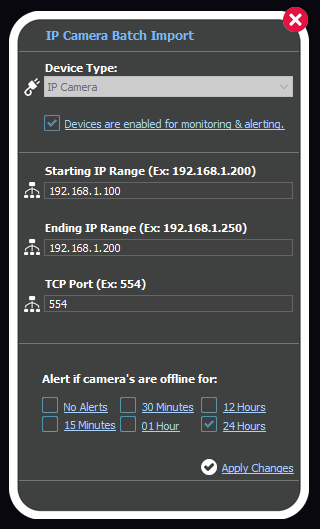
Device Enabled/Disabled: If unchecked, device will show in Pulse Monitoring, but be disabled from being monitored and alerted.
Starting IP Range: The starting IP address range.
Ending IP Range: The ending IP address range.
TCP Port: The port opened on the camera.
Alert Time: When to trigger an alert. (Ex: If device is offline for 30 minutes, send alert.)
Apply Changes: Applies any changes made to the device during adding or editing.
 Update Changes: Applies all changes made to devices. Appears when devices have been added, edited or removed on the top of the menu. Select this after all changes have been made on the devices.
IP Camera File Import (.csv):
You can import devices from a .csv file edited in Microsoft Excel or Google Sheets.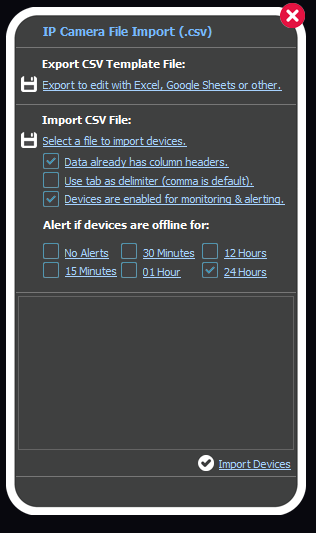
Export CSV Template File: Exports the template into Microsoft Excel or Google Sheets.
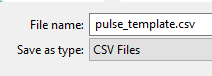
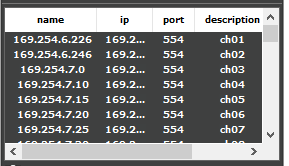
After saving the template, open up the file in Microsoft Excel or import into Google Sheets. See example image on the fields available:

When you are done with your list, make sure to save the sheet as a .csv file, and and not a .xlsx format.
Select a file to import devices: Imports the template with your list of cameras edited from Microsoft Excel or Google Sheets. (Make sure the file is not already opened with Microsoft Excel, or it will not import any data.)
A successful import will display the preview import grid with the cameras you entered.
Data already has column headers: If the file you are importing already has headers (Ex: name, ip, port, description, location). If it does not, uncheck.
Use tab as delimiter (comma is default): A csv file uses a character such as a comma or tab spacer to align data into the text fields properly. Your import fields may appear incorrectly as shown on the right-side of this image:
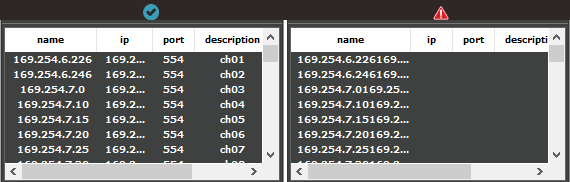
If your data did not import correctly, check 'Use tab as delimiter (comma is default)', and then 'Select a file to import devices' again. When done correctly, the results should appear as the left-side of the image.
Devices are enabled for monitoring & alerting: If unchecked, devices being imported will show in Pulse Monitoring, but be disabled from being monitored and alerted.
Alert Time: When to trigger an alert on the imported devices. (Ex: If device is offline for 30 minutes, send alert.)
Import Devices: Applies import of cameras.
Update Changes: Applies all changes made to devices. Appears when devices have been added, edited or removed on the top of the menu. Select this after all changes have been made on the devices.
Remove All IP Camera's:
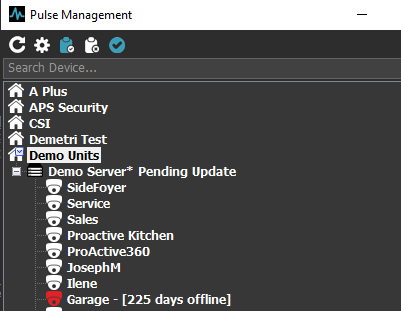
When selecting 'Remove All IP Camera's' you will see the backup bridge marked as '*Pending Update'.
Update Changes: Applies all changes made to devices. Appears when devices have been added, edited or removed on the top of the menu. Select this after all changes have been made on the devices.
Important Info:
The import process make take a few minutes to fully appear in the application. Please allow some time for devices to properly return their status.