- We need to log into the camera with the cameras IP address you can find it with our Vision Tools app for PC. These actions are managed by the camera and once set up can be added to anyone of our recorders that can handle the resolution and act the same way.
- Once logged in you want to head over to “SETUP” across the top, then click Intelligent, and Smart
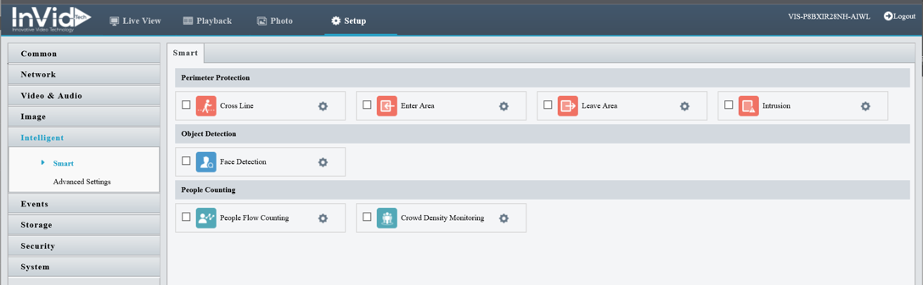
From here you have two options for triggering the white light “Crossline” and “Intrusion”
Note: You can also access the same menu and setup via a Vision recorder by clicking on “Smart” across the top and “VCA Config” on the left then choosing the camera from the drop-down list when logging into the recorder via the web.
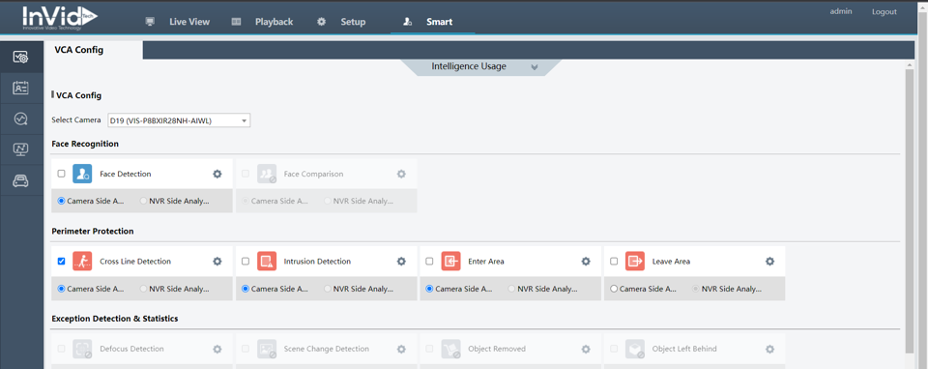
From here you can follow the same instructions from the recorder as the camera.
- In this example we are going to use “Cross line” but set up is the same for Intrusion, it just uses a box not a line. So put a check mark in crossline then choose the gear icon, this will bring us into the set up.
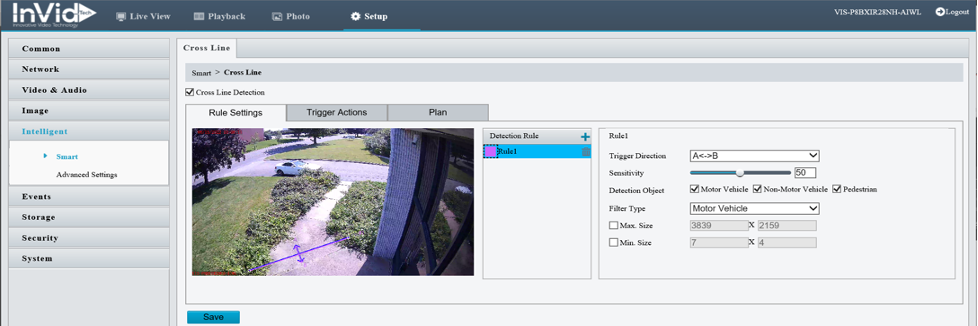
Here is where you would draw your trip line for activation, click on the plus symbol next to “Detection Rule” then click on the line that appears in the image to move it to the location that you would like, then choose on the right what objects you would like it to detect on and in what direction should it trip, when complete click “SAVE”.
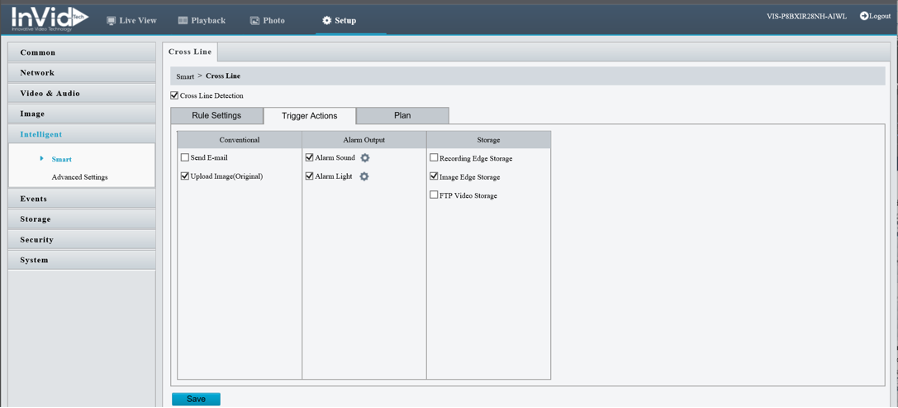
Now you can click on Trigger actions, this is where you can choose what will happen when the cross line trips, we are going to put a check mark next to “Alarm light” and in this example we will also choose “Alarm sound” (if you do not want the camera to make sound then do not choose alarm sound) you will also have options for storage, but that will be covered separately, then click “SAVE”.
** Note: If audio and schedule does not apply then this is complete.
4. Setting up schedules (the camera is set up by default for 24/7, if that is what is needed you can skip this step)
So, there are two options you can set a “Plan” that will cover all actions under the rule settings, or we can click on the gear next to alarm sound or alarm light and set a specific schedule for each (note under alarm sound you can chose different sounds or sayings at various times).
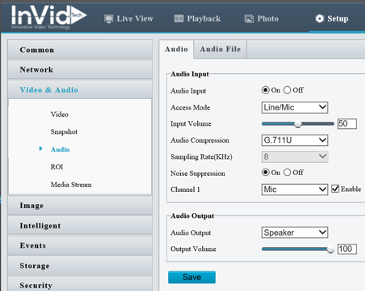
5. Audio options – To see different audio outputs or create a custom audio recording you can click on “Video & Audio” and click on “Audio”
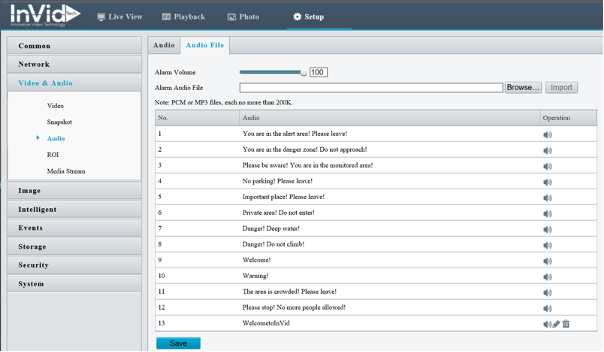
Here is where you can upload a custom audio file (PCM or MP3 files only, each no more than 200k). Click on browse and choose the audio file, then choose import, after import it will show as one of the options.